From Github Actions to Woodpecker - Rust GUI cross compilation
I am building a small GUI application called CraftIP. Minecraft players can use it to bypass the NAT using an online proxy hosted by me. In other words, it makes it easy to make a local Minecraft server public to simplify playing with friends. The program itself is built with Rust and Egui, which is a simple-to-use immediate mode GUI library.
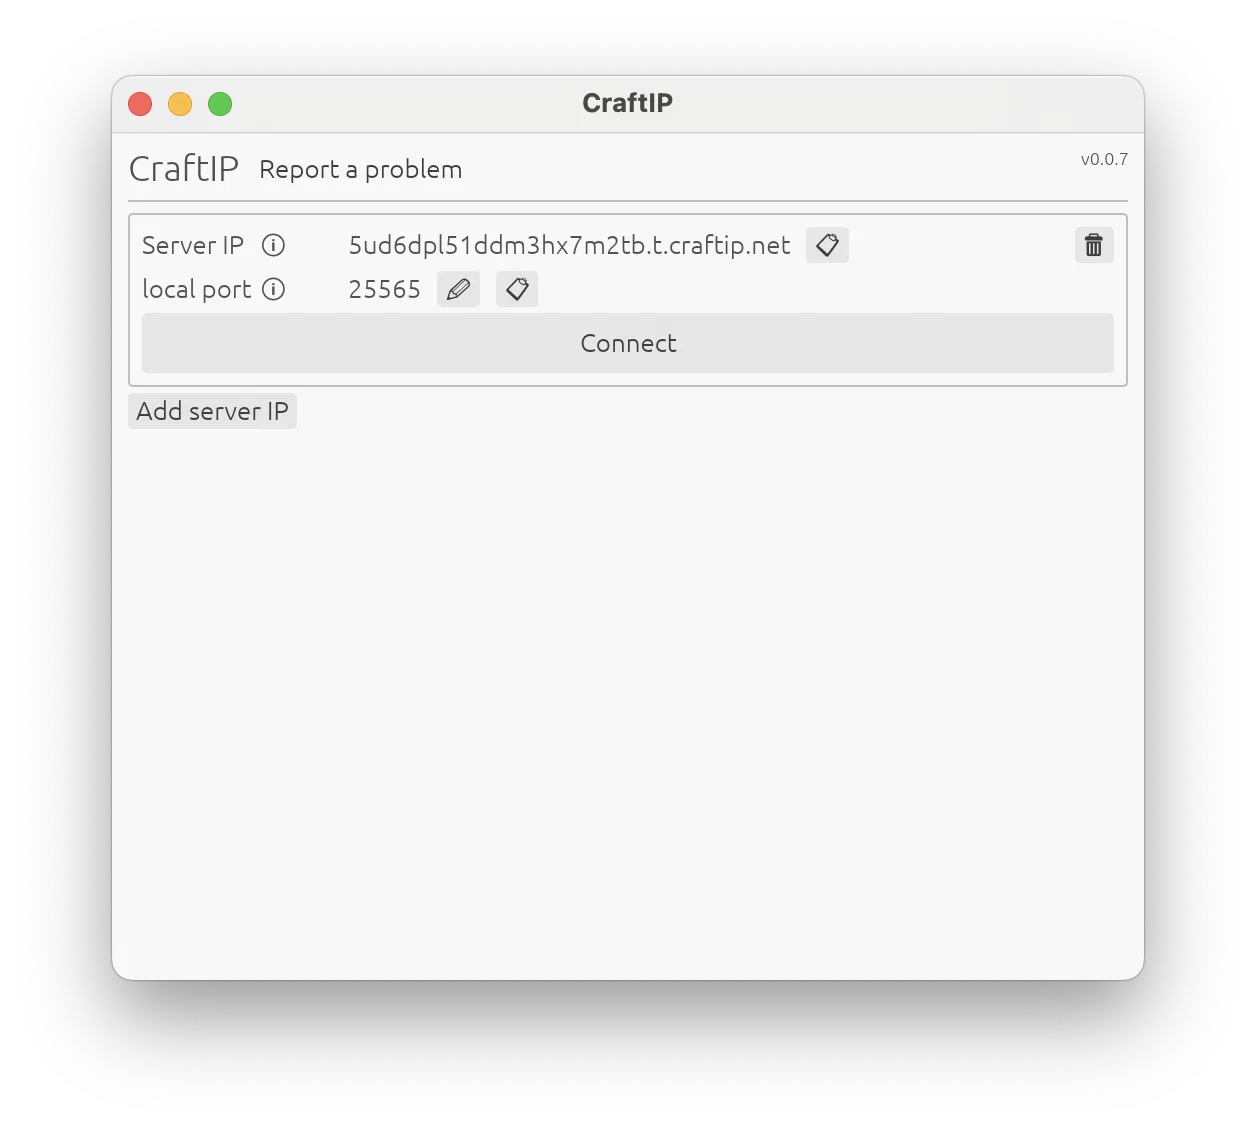
Fig. 1:
How CraftIP looks like
Previously on GitHub, I used macOS and Windows runners to compile the software. After switching to Forgejo/Codeberg, I needed an alternative. As a CI/CD pipeline I choose Woodpecker, a super simple CI solution, that does cloning the repo and run Docker containers. Nothing more.
After some research I found two promising projects:
- cargo zigbuild for macOS builds
- cargo xwin for Windows builds
Windows packaging
To cross compile a GUI program for Windows, it needs to be link against system libraries. Luckily, the program xwin does the trick by downloading the Windows system libraries, to be able to link against them.
Building for Windows
To speed up the build process, I packaged the Windows system libraries and headers in a Docker container, which can then be used to cross-compile the Rust application for Windows x86 (32 and 64 bit).
The resulting Windows compilation pipeline becomes super simple:
when:
  - event: push
    branch: main

matrix:
  ARCH:
    - i686-pc-windows-msvc
    - x86_64-pc-windows-msvc

steps:
  - name: build
    image: codeberg.org/craftip/builder.windows:latest
    environment:
      CARGO_TERM_COLOR: always
    commands: |
      cargo xwin build --target ${ARCH} --release --bin client-gui
The cargo xwin command sets all the required environment variables for the compilation process.
Windows .exe logo
To set the correct icon in the .exe file, the library winresource was added to the dependencies in Cargo.toml like so:
[build-dependencies]
winresource = "0.1"


[package.metadata.winresource]
FileDescription = "CraftIP"
ProductName = "CraftIP"
OriginalFilename = "CraftIP.exe"
LegalCopyright = "Copyright © 2026"
By adding these lines in the build.rs file, the correct icon gets assigned to the .exe file:
use {
    std::{env, io},
    winresource::WindowsResource,
};

fn main() -> io::Result<()> {
  if env::var_os("CARGO_CFG_WINDOWS").is_some() {
    WindowsResource::new()
      // This path can be absolute, or relative to your crate root.
      .set_icon("../build/resources/logo-win.ico")
      .compile()?;
  }
}
As a result you get two binaries, one for 32bit Windows for legacy reasons and one for 64 bit Windows.
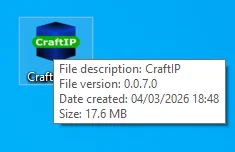
Fig. 2:
The CraftIP.exe on Windows
macOS
macOS is a little more complex than that since both the SDK as well as a special linker are required. Luckily, the cargo-zigbuild project works on solving both of these issues.
variables:
  - &macos_archs 'x86_64-apple-darwin aarch64-apple-darwin universal2-apple-darwin'

steps:
  - name: build
    image: codeberg.org/craftip/builder.macos:latest
    environment:
      MACOS_ARCHS: *macos_archs
      CARGO_TERM_COLOR: always
    commands: |
      for target in $MACOS_ARCHS; do
        cargo zigbuild --release --target $target --bin client-gui --manifest-path client-gui/Cargo.toml
      done
  - name: build dmg
    image: codeberg.org/jurek/libdmg-hfsplus:latest
    commands: |
      export DMG_OUTPUT_PATH="target/CraftIP.dmg"
      sh ./build/build-mac.sh
Since cargo zigbuild only creates binaries, these binaries have to be encapsulated in a nice looking .app folder. This .app folder can then be distributed using .dmg files, which behave like a .iso but with some macOS specific features.
Creating a .app file is relatively straightforward:
$ tree CraftIP.app
CraftIP.app
└── Contents
    ├── Info.plist
    ├── MacOS
    │   └── CraftIP
    └── Resources
        └── logo.icns
Info.plistcontains general information about the binary as well as which icon should be usedCraftIPis the binary itself (universal aarch64 and x86_64)logo.icnsis the logo, as which theCraftIP.appfolder will look like
All this is created with a little shell script, but it is nothing special.
Generating DMG’s
To create the .dmg two more things are required:
- a DMG encoder that creates the dmg and compresses it
- a
.DS_Storefile that makes the DMG look nice (background picture, initial size of the window, placement of the folders in the DMG window)
As a .DS_Store file, I decided to just use one that I had generated before on MacOS.
To generate the DMG volume on Linux, I used the program genisoimage. This is able to create a dmg file that works on macOS.
genisoimage -D \
      -V "CraftIP Installer" \
      -no-pad \
      -R -uid 0 -gid 0 \
      -hfs \
      -o "/tmp/CraftIP.uncompressed.dmg" "/tmp/dmg"
Unfortunately however, this dmg file is not compressed yet. For this, I used libdmg-hfsplus which does the job.
dmg "/tmp/CraftIP.uncompressed.dmg" "/tmp/CraftIP.dmg"
/tmp/CraftIP.dmg is now the final compressed dmg for distribution.
For further details, check out the shell script I use for CraftIP.
Permissions using genisoimage
Initially I was using the -r flag, which according to the documentation clears all write bits. This is problematic however, since then the .app folder becomes read-only, requiring the root-permissions to delete the .app folder from the /Applications folder in the future.
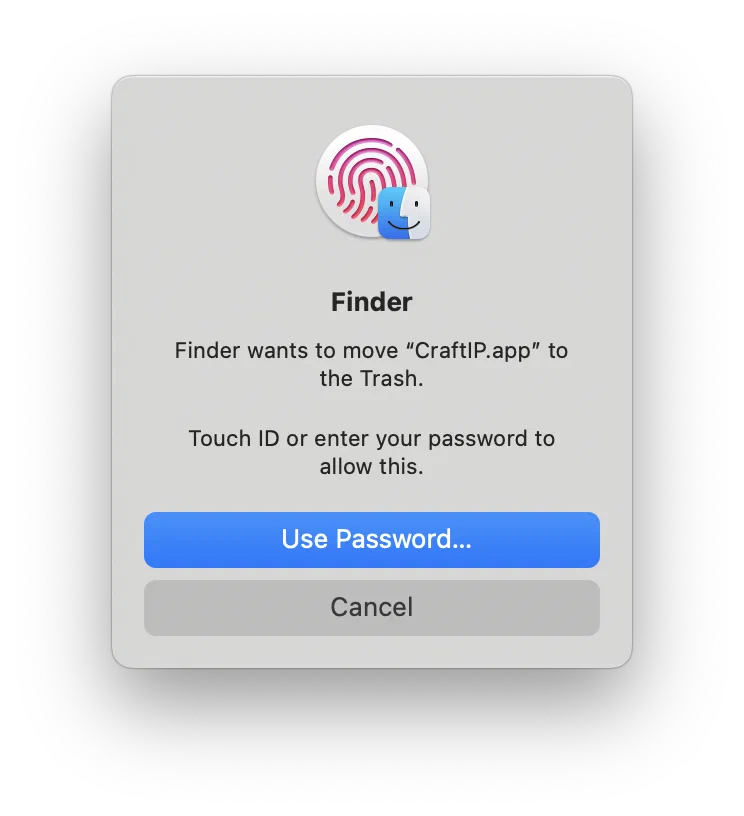
Fig. 3:
The error you get when trying to uninstall the app
In the case of CraftIP this is problematic, since the Application self-updates by replacing the binary with the newer version. This stops working, if the whole folder is read-only.
$ ls -l /Applications/CraftIP.app/Contents/MacOS
total 70424
-r-xr-xr-x@ 1 jurek  admin  36056144 Jul 10 12:08 CraftIP
Using the -R -uid 0 -gid 0 flags instead, fixes the issue. The write permissions are kept. When copying the CraftIP.app to the /Applications folder, they will persist so that the user can uninstall the application without root permissions.
$ ls -l /Applications/CraftIP.app/Contents/MacOS
total 70272
-rwxr-xr-x@ 1 jurek  admin  35977424 Jul 27 17:50 CraftIP
Takeaway
Windows and macOS applications can be cross-compiled and packaged in Docker containers. This is extremely valuable, since these containers can be used far in the future and continue to work. In theory, this should require less maintenance than using native runners that have to be constantly updated.
Github actions can be fully replaced with fully self-hosted Woodpecker CI that can be hosted everywhere.